VPN Access
Description VPN Access
VPN access allows you to scan targets located within your internal network.
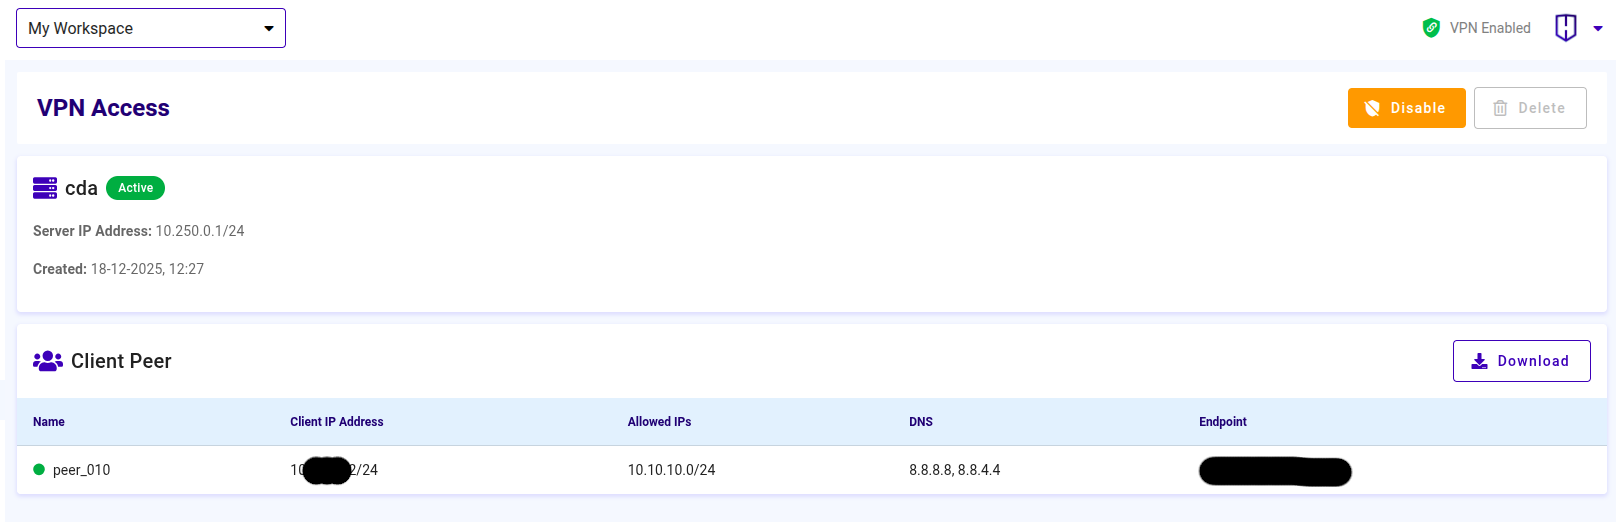
- Server IP Address is the IP address of the Helium Security server
- Name is the name of the Helium Security VPN server
- Client IP Address is the IP address assigned to the client when connected to the VPN
- Allowed IPs are the IP addresses or IP ranges permitted to pass through the VPN connection
- DNS is the DNS server that will be used by the client while connected to the VPN
VPN Configuration
To configure the VPN, follow the steps below:
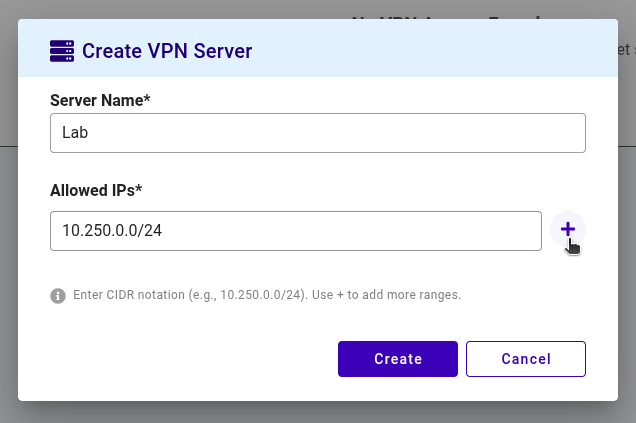
Click the Create VPN Access button. The configuration form will be displayed
Enter the server name in the Server Name text box
Enter the IP addresses that will be used for scanning
 note
noteAllowed IPs are a list of IP addresses or IP ranges permitted to pass through the VPN connection, written in CIDR format
The IP address 10.250.0.0 represents a network block (not a single device), covering all IPs within the 10.250.0.x network
The /24 notation indicates the network size, consisting of 256 IP addresses in the range 10.250.0.0–10.250.0.255
You can add up to a maximum of 10 additional IP entries by clicking the + icon
Click the Create button to create the VPN configuration, or click Cancel to abort
Connecting the VPN
To connect the VPN, follow the steps below:
- Click the Enable button. If successful, the VPN status will change to Active

- Click the Download button to download the configuration file that will be used to connect your application server to the Helium Security server
- Run WireGuard using the configuration file you downloaded earlier