MacOS Operating System
This guide explains how to install and configure WireGuard on MacOS to connect to the Helium VPN Server.
Installation Steps
- Install the WireGuard application from the App Store
- Open WireGuard and select Import tunnels from file
- Select the VPN Client configuration file that you previously downloaded. Once the import is successful, the configuration will appear in the tunnel list
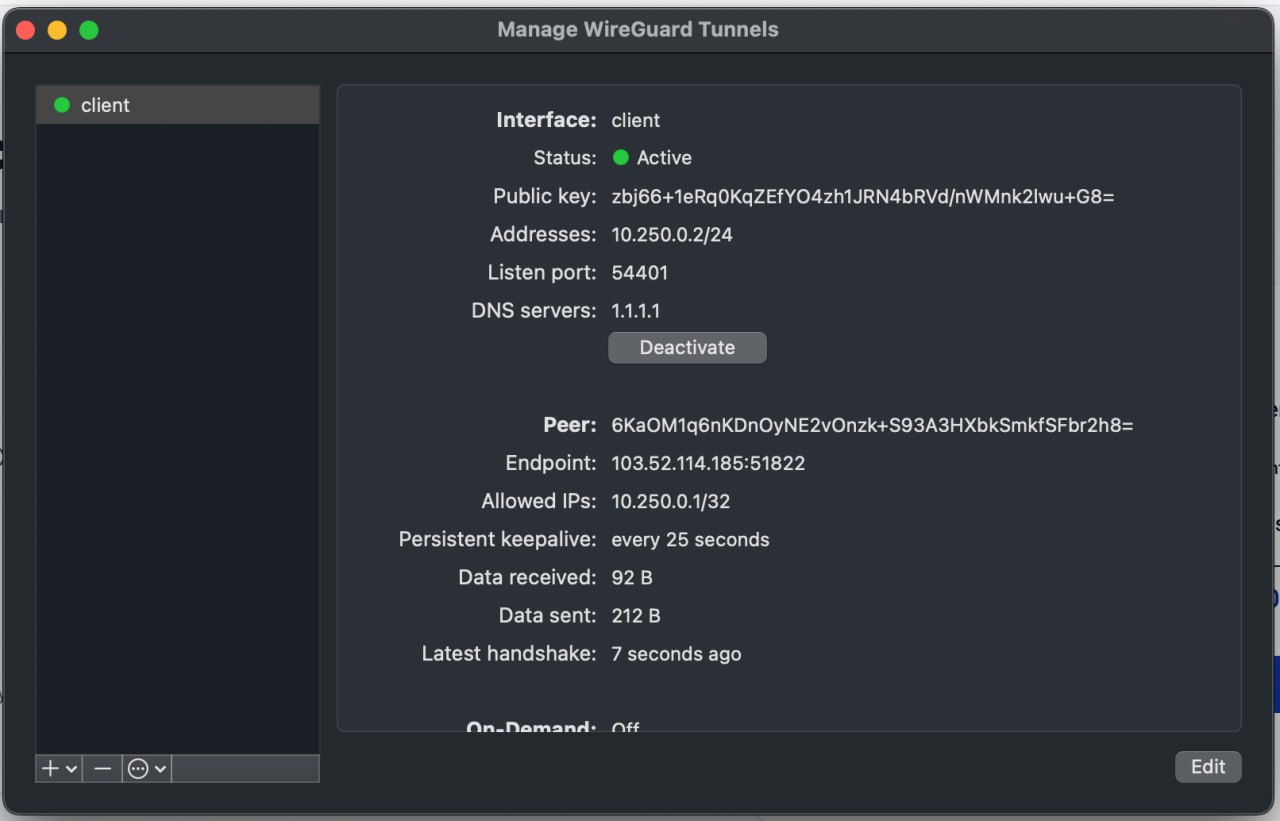
- Click Activate to connect to the Helium VPN Server
Configuration Steps
- Configure the WireGuard tunnel access to allow it to reach the target subnet that you entered in Helium Cloud
- Example Using the en0 Interface (check using the ifconfig command)
- Create a NAT configuration:
sudo nano /etc/pf.anchors/com.helium-nat - Add the following configuration:
nat on en0 from 10.250.0.0/24 to any -> (en0) - Add the PF configuration:
sudo nano /etc/pf.conf - Append the following lines at the end of the file:
anchor "com.helium-nat"
load anchor "com.helium-nat" from "/etc/pf.anchors/com.helium-nat"
pass in on utun0 from 10.250.0.0/24 to any
pass out on utun0 from any to 10.250.0.0/24 - Validate the configuration:
sudo pfctl -nf /etc/pf.conf - Restart the PF service:
sudo pfctl -F all -f /etc/pf.conf
sudo pfctl -e - Enable IPv4 forwarding:
sudo sysctl -w net.inet.ip.forwarding=1
- Create a NAT configuration:
Verification
- Ensure that your server can successfully PING the following destinations:
- Helium Server, based on the information provided in the Helium Cloud, as listed in the IP Address Whitelist section (https://www.helium.sh/account?menu=security)
- Helium VPN Server and port, as listed at https://www.helium.sh/vpn-access Ensure that the correct workspace is selected.
- VPN Server IP Address, which is 10.250.0.1