Windows Operating System
This guide explains how to install and configure WireGuard on Windows to connect to the Helium VPN Server.
Installation Steps
- Download the WireGuard application from the official website: https://www.wireguard.com/install/ Then select the Windows version
- Install the downloaded application until the installation is complete
- Open the WireGuard application, then select Import tunnels from file
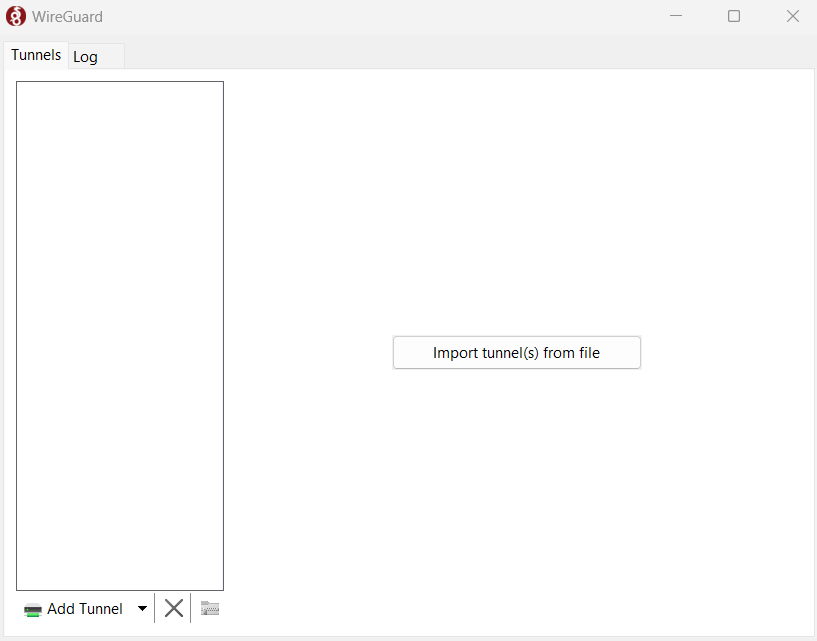
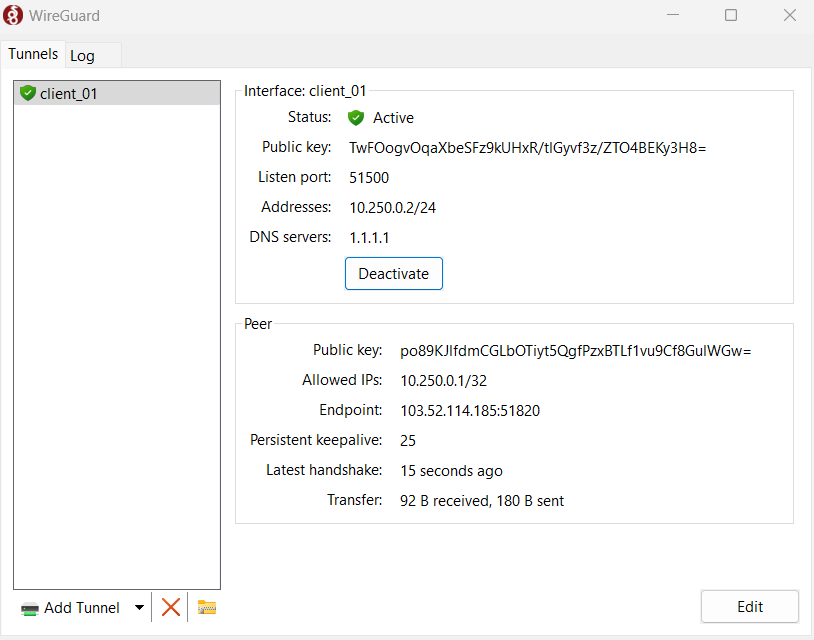
- Select the VPN Client configuration file that you previously downloaded. Once successfully imported, the configuration will appear in the tunnel list
- Click Activate to connect to the Helium VPN Server
Configuration Steps
Configure the WireGuard tunnel access to ensure it can reach the target subnet that you previously entered in Helium Cloud
The following example uses a Wi-Fi interface:
Open Windows Search → search for View Network Connections
Select the Wi-Fi adapter, right-click → Properties

Check all available options, then select the client_01 tunnel, and click OK

Verification
- Ensure that your server can successfully PING the following destinations:
- Helium Server, based on the information provided in the Helium Cloud, as listed in the IP Address Whitelist section (https://www.helium.sh/account?menu=security)
- Helium VPN Server and port, as listed at https://www.helium.sh/vpn-access Ensure that the correct workspace is selected.
- VPN Server IP Address, which is 10.250.0.1