SQLi Exploitation
Discover SQL Injection vulnerabilities in web applications.
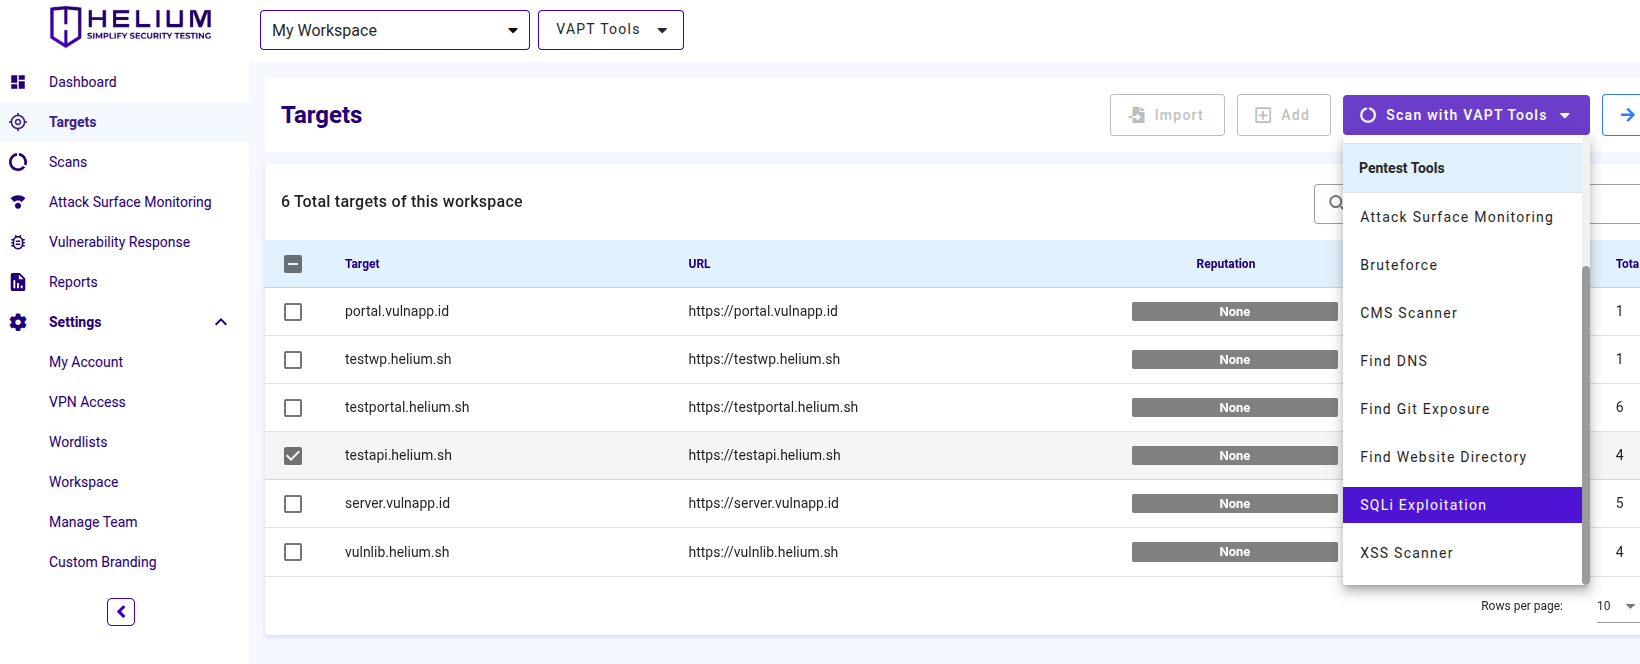
The selected target will be scanned with the available tools. Select SQLi Exploitation Tool
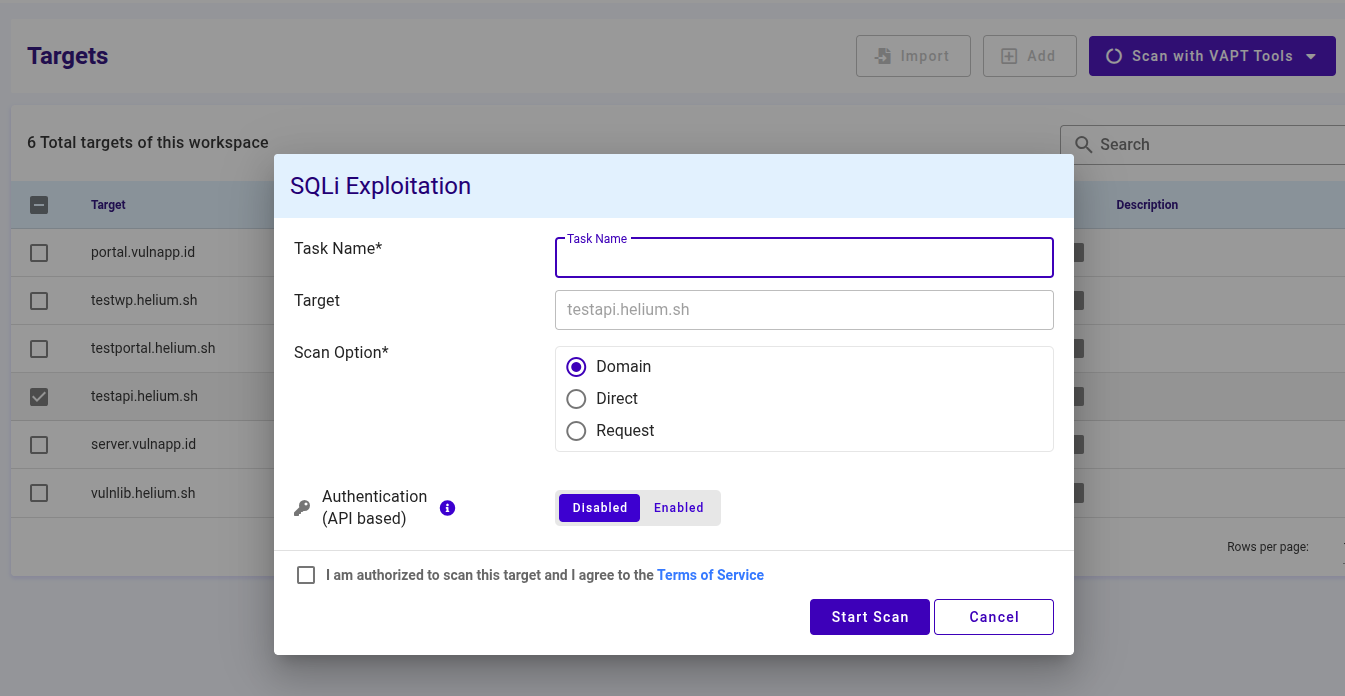
To scan using SQLi Exploitation, users can follow these steps.
- Enter the task name in the Task Name textbox
- Select one of the scan options, namely Domain, Direct, or Request
- If the user selects Domain, then only fill in the target value in the form of a domain
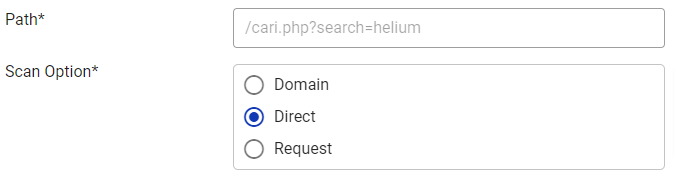
- If the user selects Direct, the path filling will appear
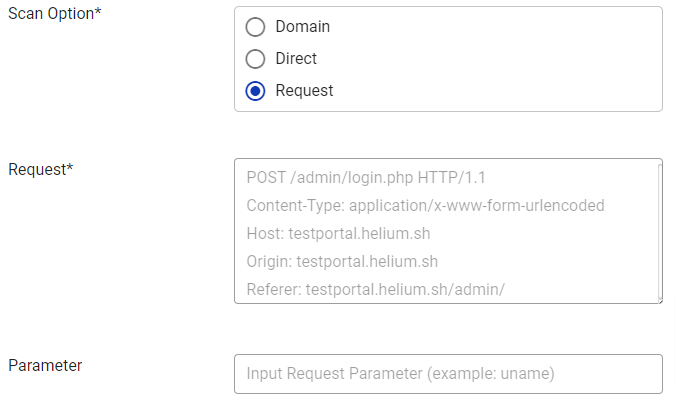
- If the user selects Request, a request (required) and parameters (optional) will appear.
- Click the agree Terms of Service checkbox
- Click the Start Scan button to start the scan, click Cancel if you want to cancel
Running an Authenticated Scan with API Scanner
 Users can follow the following steps.
After enabling the authentication feature
Enter the Login Form URL, the authentication endpoint that issues tokens (e.g., https://loginapi.vulnapp.id/tokens)
Enter the Login Request Payload, the login request body in the format the API expects (commonly JSON). Example JSON: {"username":"user1","password":"pass1"}
noteHelium does not store any data/credentials on this feature, requests are handled in real-time.
Enter the Auth Token Location, the location of the token in the login response using dot notation for nested fields (e.g., access.token.id)
Enter the Auth Header Name, the HTTP header the scanner will use to send the token (e.g., X-Auth-Token or Authorization)
Enter the Auth Prefix (optional), prefix to include before the token if required (e.g., Bearer: token)
Check the box "I am authorized to scan this target and I agree to the Terms of Service."
Click APPLY button to start the authenticated scan
noteIf the scan was run using an authenticated session, you will be required to re-enter your authentication credentials before a database dump can be performed.